How To Make Purified Water For Cleaning Windows
Step-by-Step Guide to Making Purified Water for Window Cleaning
Water, one of the four main elements of life, is also the most valuable resource on Earth. It's a universal solvent which means it can dissolve more substances than any other liquid known to man. About ¾ of our land comprises water, and merely one part accounts for soil. Surprisingly, the human body also composes 6o percent of water—the highest proportion in the brain.
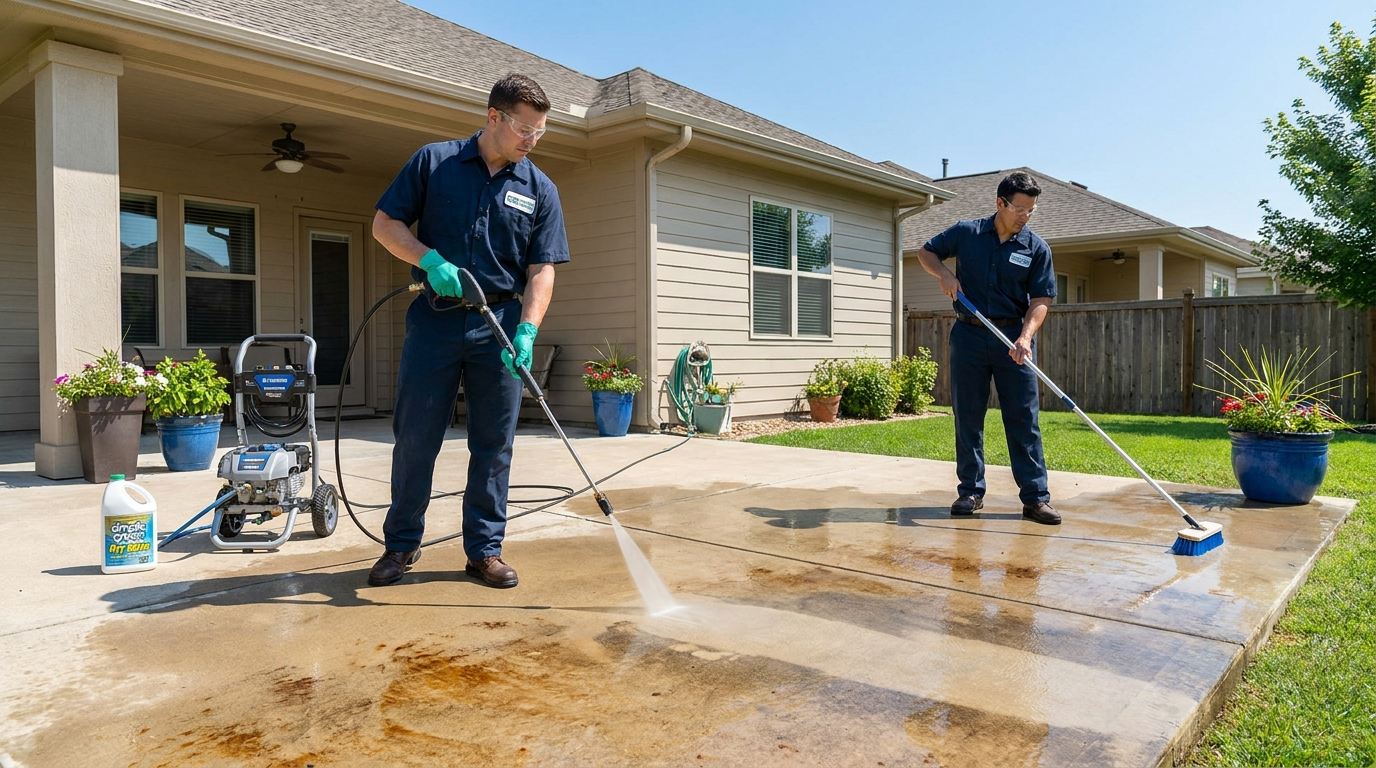
Just as human beings need purified water for drinking, many other elements also require pure water for cleaning and washing purposes. However, the deterioration of this natural resource is a consequence of water pollution and wastage. In addition to harming living creatures, contaminated water also damages inanimate objects. So to avoid all the detrimental effects, we require purified water for drinking, bathing, washing, and cleaning materials like glass. Following is the easy and economical way to make purified water for cleaning windows.
Why Is Purified Water Needed for Window Cleaning?
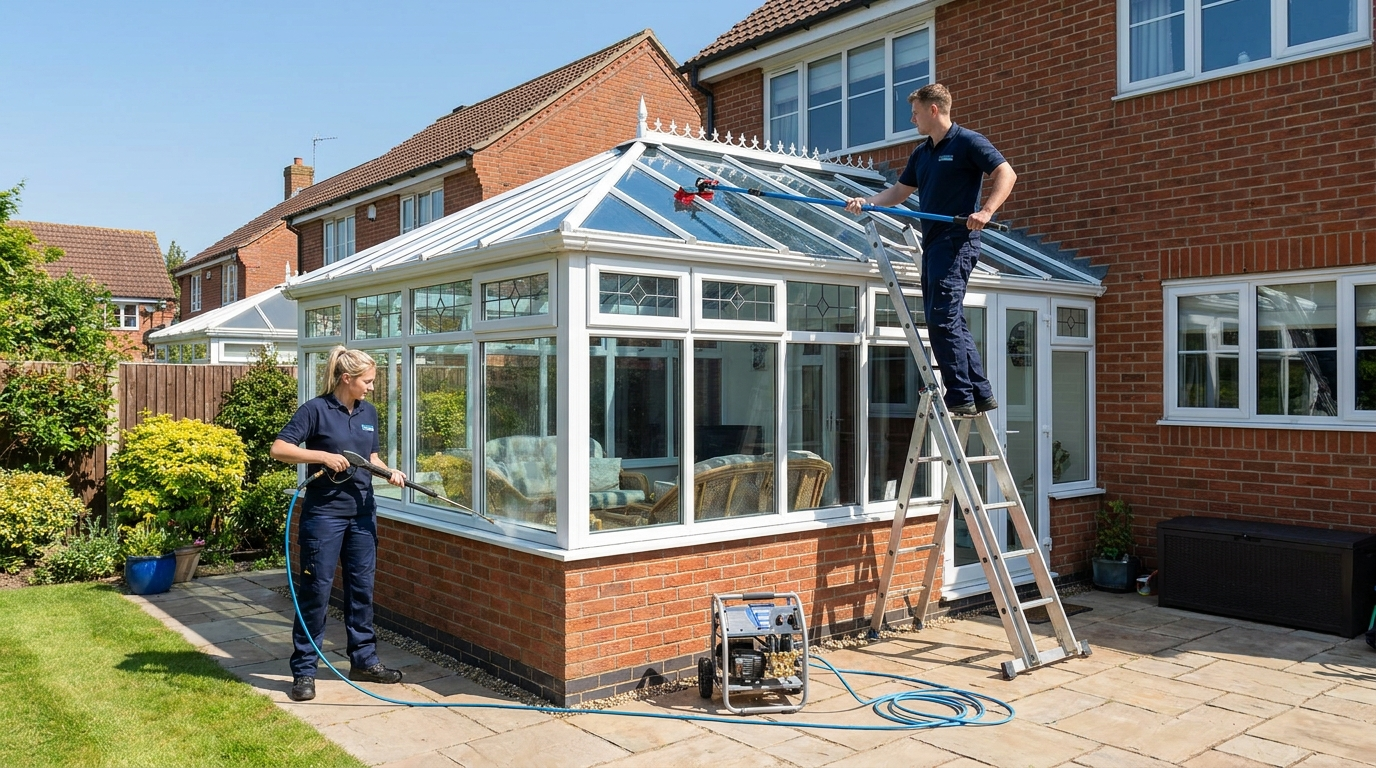
Hard water from your faucets contains a higher proportion of minerals compared to soft water. This hard water deposits white stains formed from the chemical reaction between magnesium, calcium, or carbonates with the glass of your windows. For this reason, you should use purified water when cleaning your windows to avoid stains.
Secondly, purified water makes your windows look immaculately clean and prolongs their durability and resistance to cracking. Purified water droplets that are left behind also evaporate quickly in the air leaving behind no salts and stains. In addition to that, you will not have to spend much time and effort washing your windows with pure water, and they will also remain clean for a prolonged period.
Another positive aspect is that purified water is eco-friendly. It is safe for the environment and all living and non-living creatures. In short, using pure water is a great initiative to minimize water pollution and a means to save water.
Supplies You'll Need
● A water supply; faucet
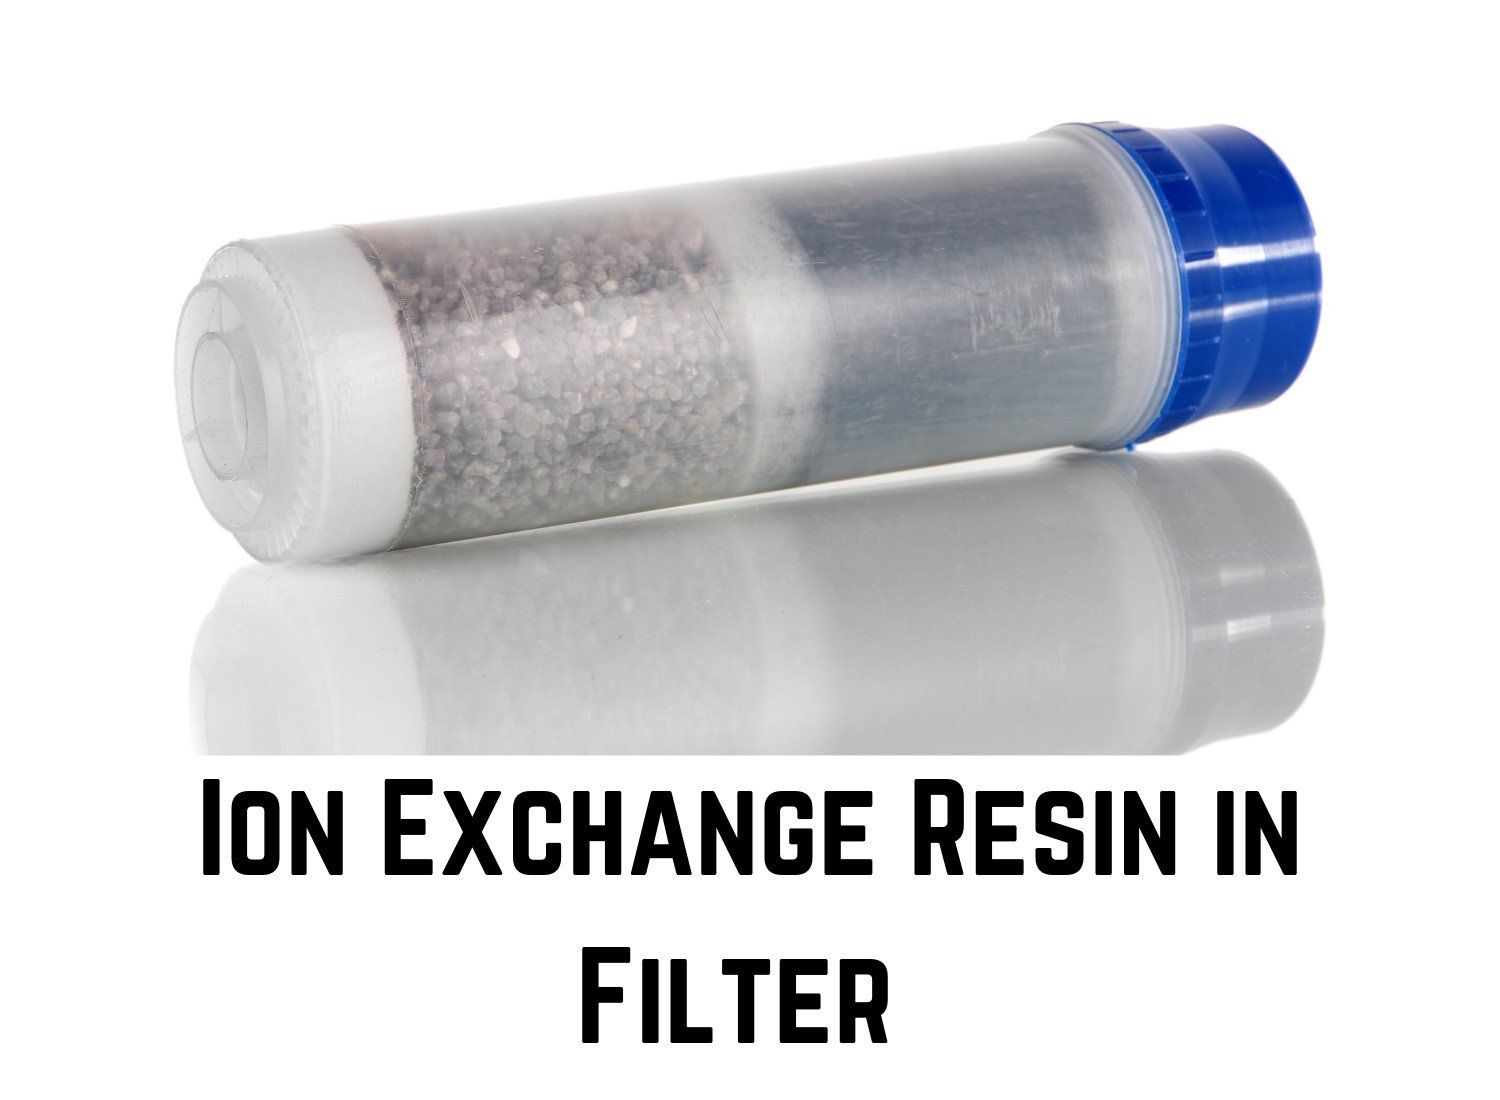
● Resin
● TDS meter
● DI vessel
● Reverse Osmosis System
Pre-Process Instructions
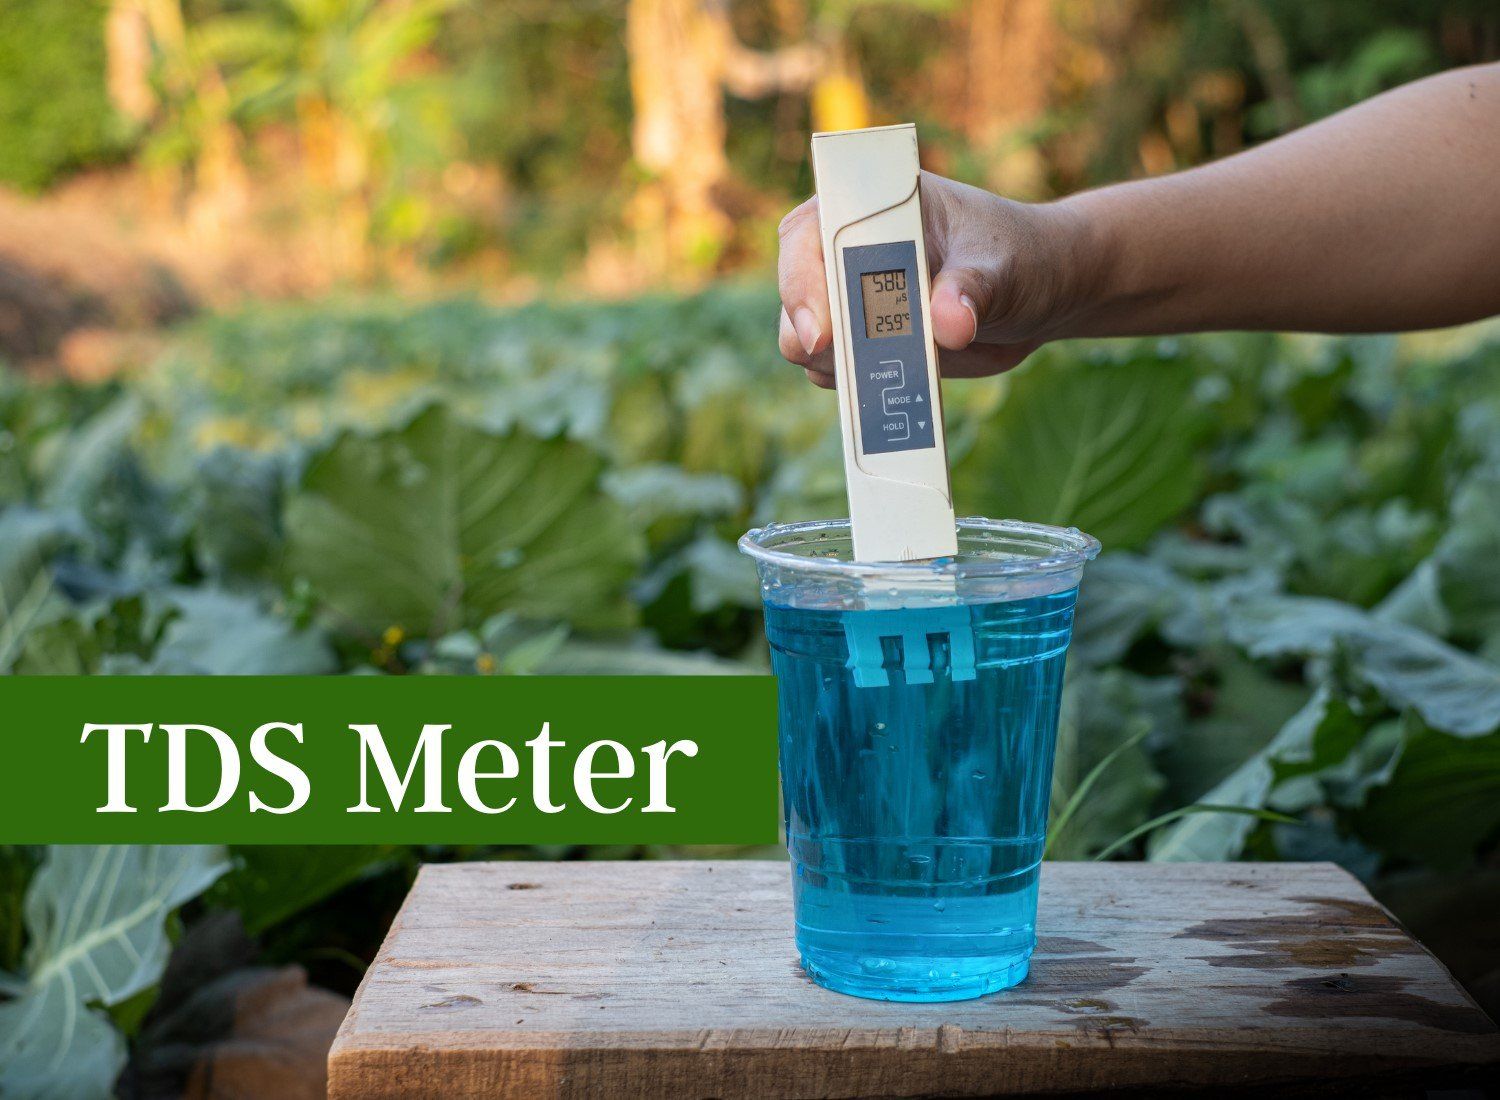
Before you begin any purification process, you'll need a TDS meter to measure the water's quality. TDS meter is a device that calculates total dissolved solids in water, and it works on the principle of measuring the electrical resistance between two endpoints. Measuring TDS before and after the purification method will help you indicate the system's efficiency.
Types of TDS Meter
Two types of TDS meters work on the same principle. However, the effectiveness, pros, and cons of each type vary. To protect the resin of your DI system, you should plug the water into the DI vessel after waiting for 5-10 minutes for the water to flow. Waiting for such a period helps lose excess minerals concentrated in the water. After 5-10 minutes, the water quality improves and is ready for the plugin.
Hand-held TDS Meter
Hand-held TDS meters function simply by dipping the tip of the meter in a water butt or a large barrel containing water. The meter expresses the reading as total dissolved solids in parts per million ❲ppm❳. When taking the measurements, press the hold button if you encounter difficulty due to low water levels or darkness in the barrel. By doing so, the reading will be held and appear on the screen.
In-Line TDS Meter
The in-line TDS meter is a more advanced version of the hand-held one. It measures total dissolved solids, the volume of water, and flow. Moreover, it monitors in real-time while the water flows through the hose, filter unit, and before and after leaving the DI vessel. The reading continuously appears on a separate screen as the process proceeds.
Why Do We Need to Change RO/DI Filter?
A new RO/DI filter is necessary when the TDS reading exceeds five ppm to maintain the RO/DI system's efficiency. Following are the simple methods of replacing RO filters and DI resin, respectively.
Replacing RO filter
It is relatively easy to replace RO filters since they can quickly be removed and replaced with another. My recommendation should be to flush your RO first if it has that capability.
Changing DI resin
Replacing the old DI with the new one is not an easy task. First of all, I recommend wearing protective gloves to avoid irritation and dryness caused by contact with the resin. Proceed by removing the DI in the head and eluting the old filler. Then, take the new DI resin and pour it into the cartridge. Tap the cartridge on the floor or any other surface multiple times to let the resin settle properly. Add successive portions of DI resin until the cartridge fills.
Step-by-Step Guide to Making Purified Water for Window Cleaning
Step no. 1 Measure TDS
Before purification, it is critical to measure the total dissolved solids in the water. The reading will help you indicate whether the water is soft or hard. A value of 120 or less suggests that your tap water is soft. In contrast, a meter reading greater than 150 indicates hard water. To filter all the impurities from this water, you will only need a DI vessel and resin. When purified, your meter should read less than 0.07 TDS in the water- ideal for window cleaning. To purify hard water, you should also use a reverse osmosis system.
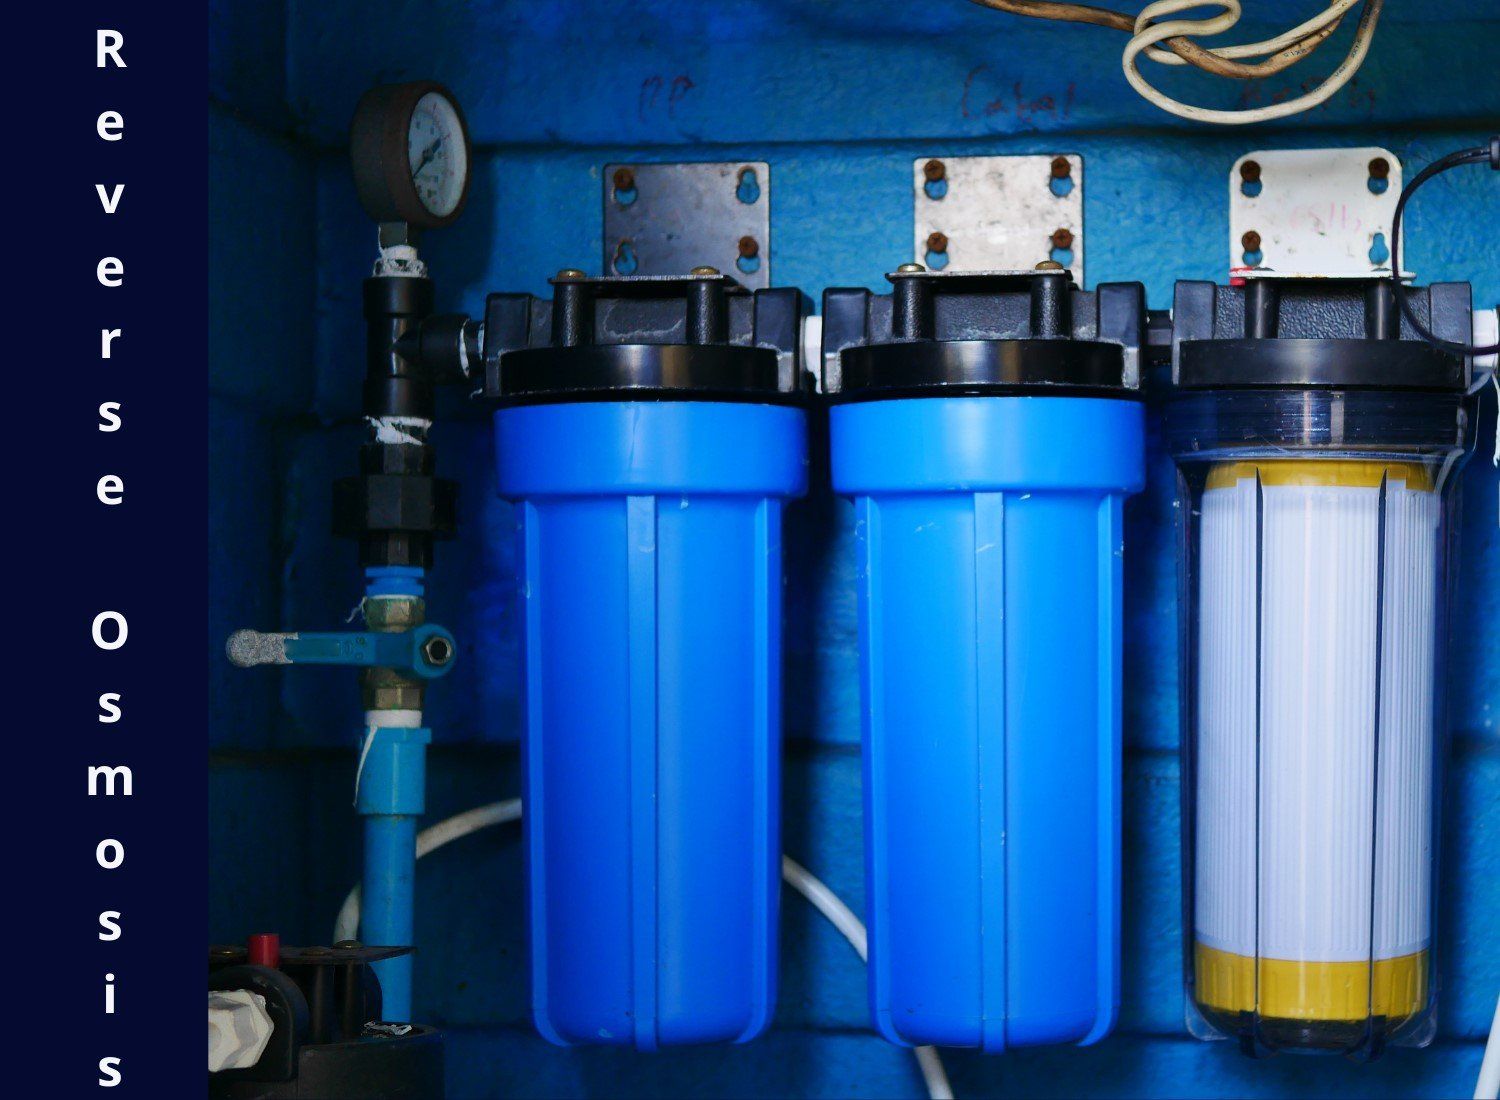
Step no. 2 Deionization and Reverse Osmosis System
Deionization and reverse osmosis systems work on the same principle but use different filters. These systems purify water by removing harmful chemicals and minerals like salts, calcium, magnesium, copper, iron, arsenic, sand, and silt. Additionally, both these methods are highly efficient and compatible with the purifying process required in cosmetics, pharmaceuticals, boilers, and humidifiers.
The primary difference between the two systems is different filter media. The Deionization system uses ion exchange resins, while the reverse osmosis system uses semi-permeable membranes.
Another difference is that the reverse osmosis system can filter out viruses, bacteria, and protozoa through specific-size semi-permeable membranes. In contrast, the deionization method is more efficient in making the water softer by removing heavy minerals.
Firstly, connect the DI vessel to the water supply for the DI system to work. Make sure that the tank is full of ion exchange resin. Allow the water to run through the media. This resin will bind to the minerals and salts and adds hydrogen or hydroxyl groups to water. In this way, you can get pure water.
Connect the water source to the vessels when using a reverse osmosis system. Allow the water to pass through the semi-permeable membranes of specific pore size. The contaminated water drains into the gutter while the pure water gets collected in the drum. Recheck the TDS level after purification with either system before using purified water for window cleaning.
Types of Purifying Water Setup You Can Establish
Depending on the circumstances, some people prefer to set up their purifying system in the garden; others find it more convenient to do so in their van. The two connections have particular advantages and disadvantages while no one is better than the other. Choosing the best connection comes down to convenience and cost.
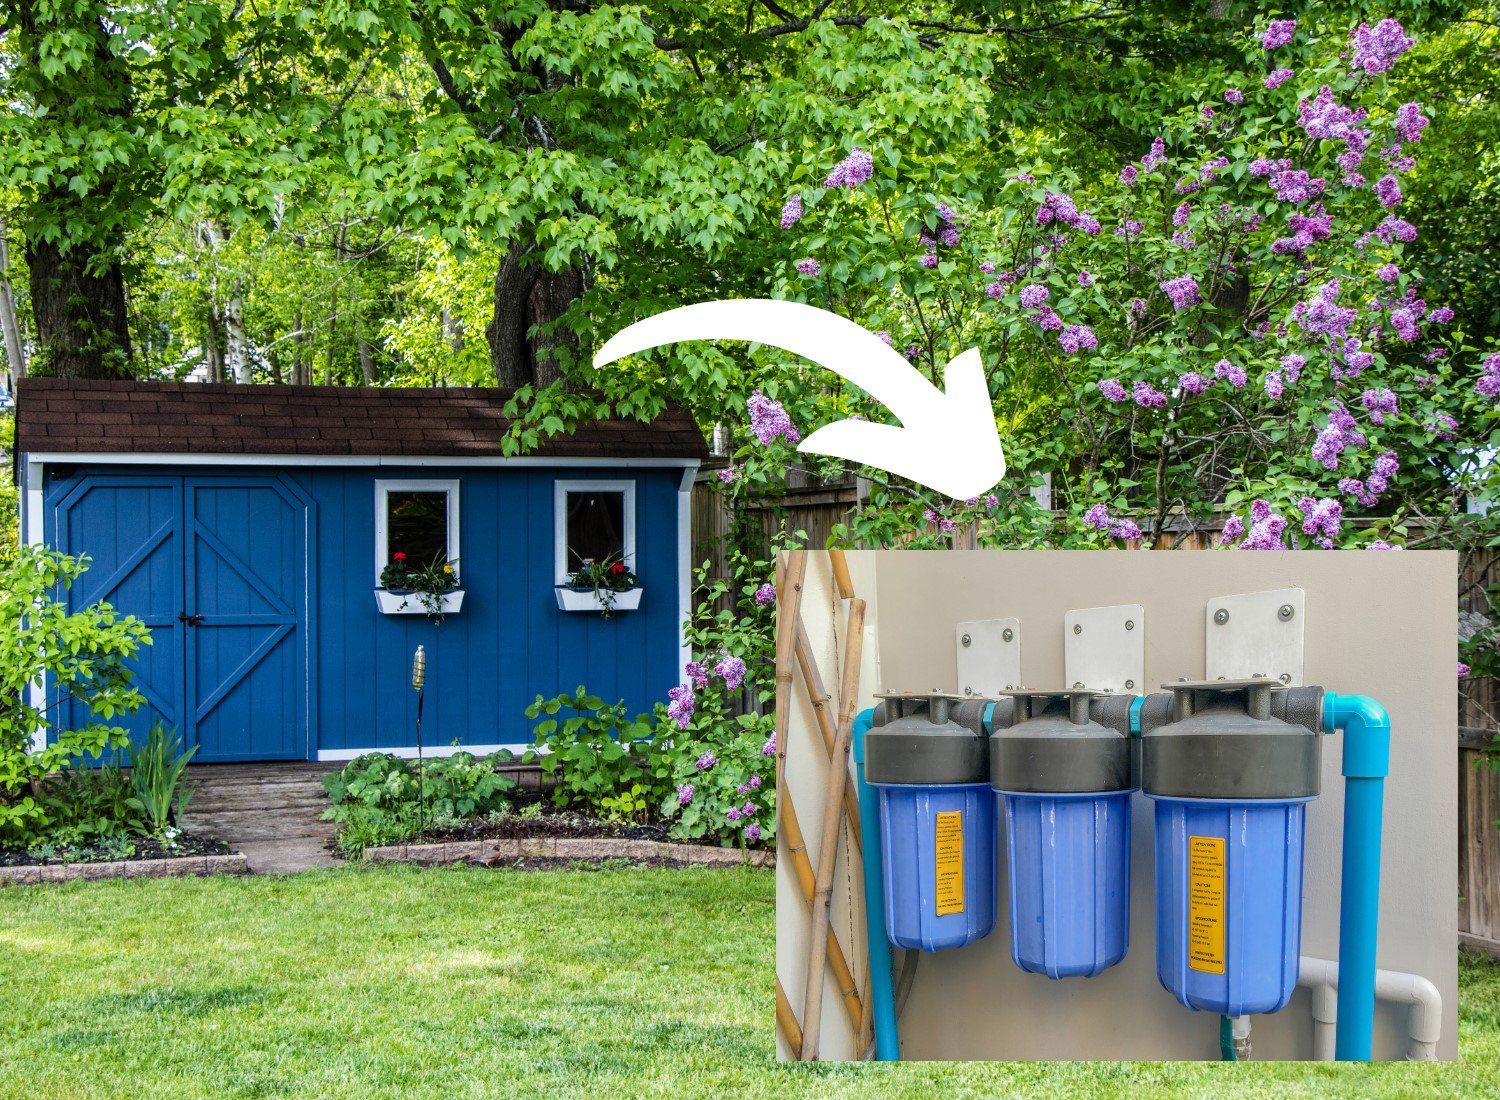
Pure Water Setup in a Shed
A shed is a storage room built in a garden. It's indeed the best place to put your purifying system. However, make sure that your setup is near to the water supply, or else you will require a long hose. Using such a garden shed will also protect your DI or Reverse osmosis system from the harm of the environment and weather change.
Pros
● Easy to set up
● Economical
● No freezing of water in a shed
● Environmental protection
● It is possible to purify in advance
● It is convenient to store purified water
Cons
● Occupies large space
● Requires water transport system or submersible pumps to van
● Needs drains to dispose of contaminated/hard water
Pure Water Setup in a Van
Setting up purifying system, either DI or RO, requires much effort. However, it is more convenient for people who don't have large spaces to place large water tanks. Transportation and application of purified water in a van are also less-challenging. Nevertheless, every system has some drawbacks. For example, overflowing the vehicle with water is a significant risk. Take into account the below-mentioned considerations to avoid such inconvenience.
Pros
● Easy to transport
● Easy to use at heights with the help of a ladder attachment
● Requires less space
● No need for a separate storage area
● Advance purification is possible
● No need to pump water from shed to van
Cons
● Freezing of water is possible in cold weather
● Overflowing van can also occur
Important Considerations of Setups
To avoid any inconvenience, you should take into account the following considerations. The below-mentioned list comprises the pieces of equipment or attachments that will aid you in the process.
Water Timer
A water timer will help avoid overflowing your van with water. Using this timer, you can set the period of the purification process and water flowing through the vessel. Moreover, it also aids you in pre-setting the volume of water you want to fill in the tank.
IBC tank
Intermediate Bulk Containers are large tanks suitable fr storing freshly prepared pure water. IBC tanks have a nominal capacity of about one thousand liters which is quite appreciable.
Submersible pump
Submersible pumps ease the transport of water from sheds to vans. Different quality submersible pumps are available. I recommend opting for the one made with high-end material with a power of 750/1100 watts and thickness of about 1 inch to pump water efficiently.
Conclusion
Pure water is best for cleaning windows thoroughly. Both methods and systems such as DI vessel and reverse osmosis are efficient. You can choose either option according to the TDS level of your tap water. Always remember to take TDS reading before and after the purification process. Moreover, you can either set up the system in a van or a shed according to your feasibility, economy, space allocation, location, ease of transportation, and application. Lastly, always consider the pros, cons, and important considerations before opting for any method or buying equipment.