
How Property Managers Can Clean Commercial Building Exteriors Without Damaging Surfaces
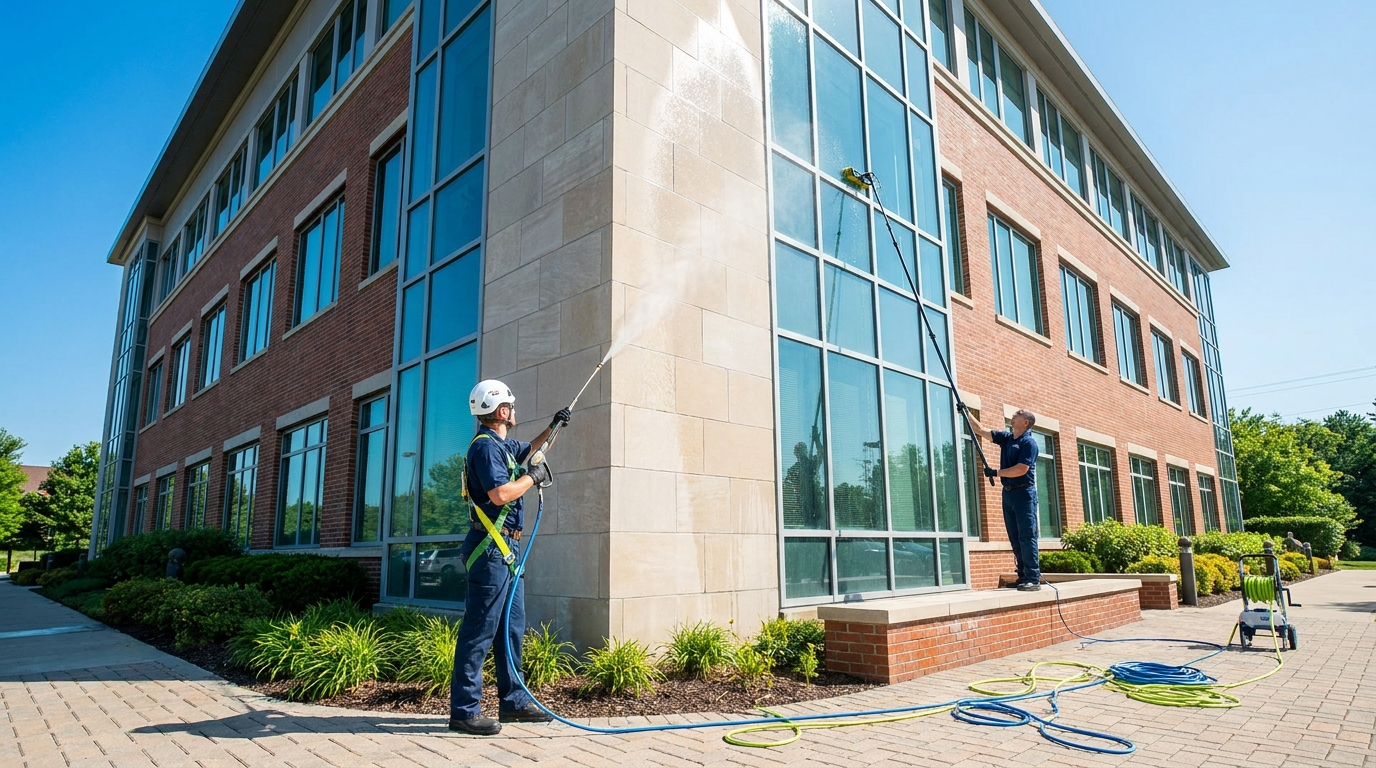
Most property managers assume façade cleaning is straightforward: hire someone with a pressure washer, point it at the wall, done. That assumption is exactly what causes streaked render, etched stonework, failed cladding joints, and landscaping that looks like it's been through a drought. A commercial exterior isn't a single surface — it's often four or five different materials on the same elevation, each with its own tolerance, its own stain chemistry, and its own response to pressure and chemical contact. Get the sequence right, and the building looks presentable for 18 months or more. Get it wrong, and you're dealing with damage that costs considerably more to fix than the cleaning job itself.
Start with a site walkthrough — before any equipment arrives
This step gets skipped more often than it should. A proper pre-clean assessment isn't box-ticking; it's the difference between a job that goes smoothly and one that causes a complaint or a warranty claim.
Walk the perimeter and document the following before anyone touches a hose:
- Surface materials present — brick, render, aluminium composite panels, glass curtain wall, stone, concrete, vinyl cladding, or some combination
- Existing damage — open mortar joints, failed sealant around windows or penetrations, cracks in render, rust staining from fixings or flashings
- Stain types and locations — atmospheric carbon deposit, biological growth (green algae, black lichen, moss), oil splash at ground level, rust runs from iron fixings
- Access constraints — landscaped beds directly below the wall, ground-level vents or electrical intakes, public footpaths that will need managing during the job
Check mortar joints and sealant beads closely. Pressure washing over an open joint pushes water straight into the wall. Water infiltration through a failed joint can cause internal damage that is far more expensive than the cleaning bill. If you find open joints during the walkthrough, those need sealing before any wash water goes near them.
Notify tenants or occupants at least 72 hours in advance — not as a courtesy, but because open windows, ground-floor ventilation systems drawing in chemical mist, and pedestrians walking under a live wash are all genuine hazards. Post signage at entrances and include dates and a site contact number.
Check the weather forecast before scheduling. Most cleaning chemicals need a surface temperature above 5°C to work correctly, and rain within two to four hours of application will dilute treatments before they've had time to act.
Match the cleaning method to the actual surface — not the whole building
This is where the real decisions get made. The most common mistake on mixed-material façades is applying one method uniformly across surfaces that have very different tolerances.
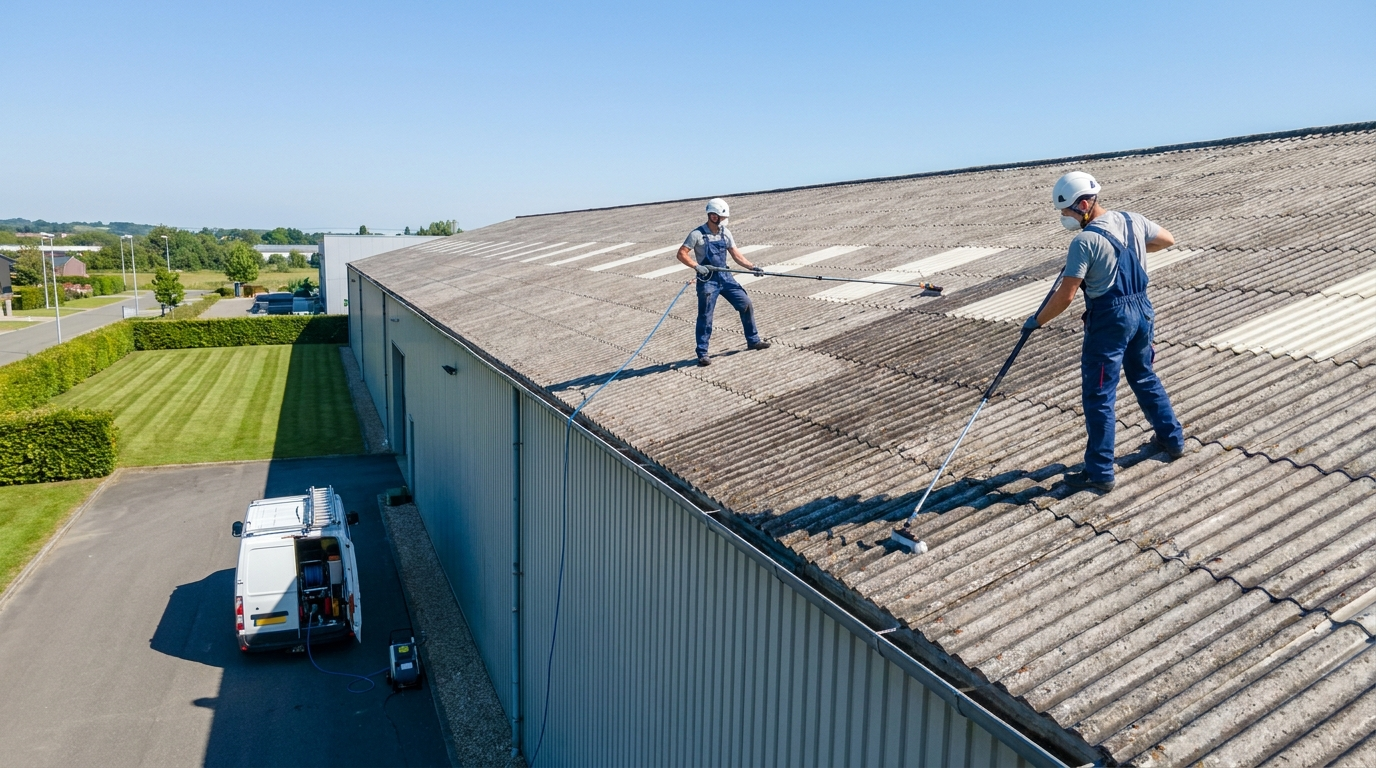
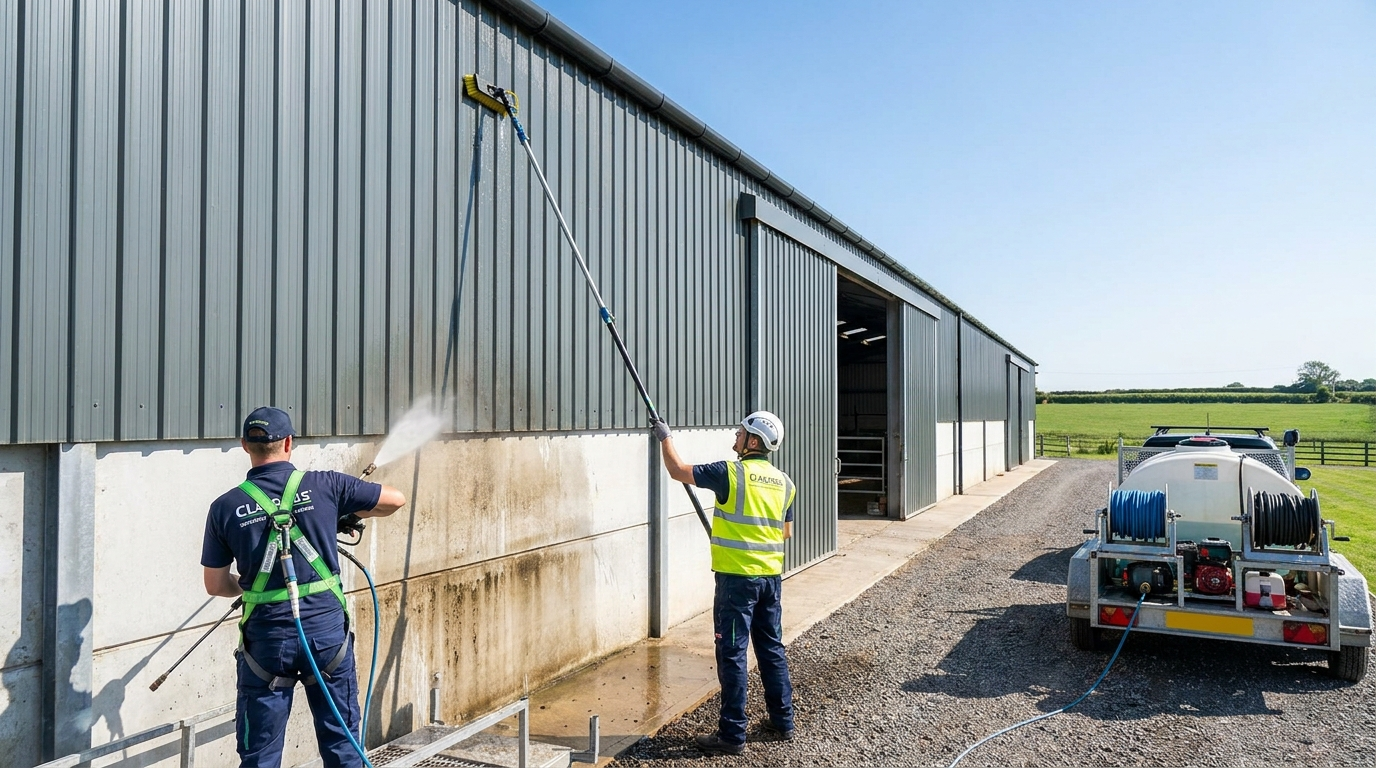
Pressure washing — typically 100–400 psi for most commercial façade surfaces — works well on durable hard surfaces like dense concrete, engineering brick, and block paving at lower access levels. That same pressure on aged lime render, sandstone, acrylic cladding panels, or soft red brick can erode the surface, force water behind panels, or strip pointing.
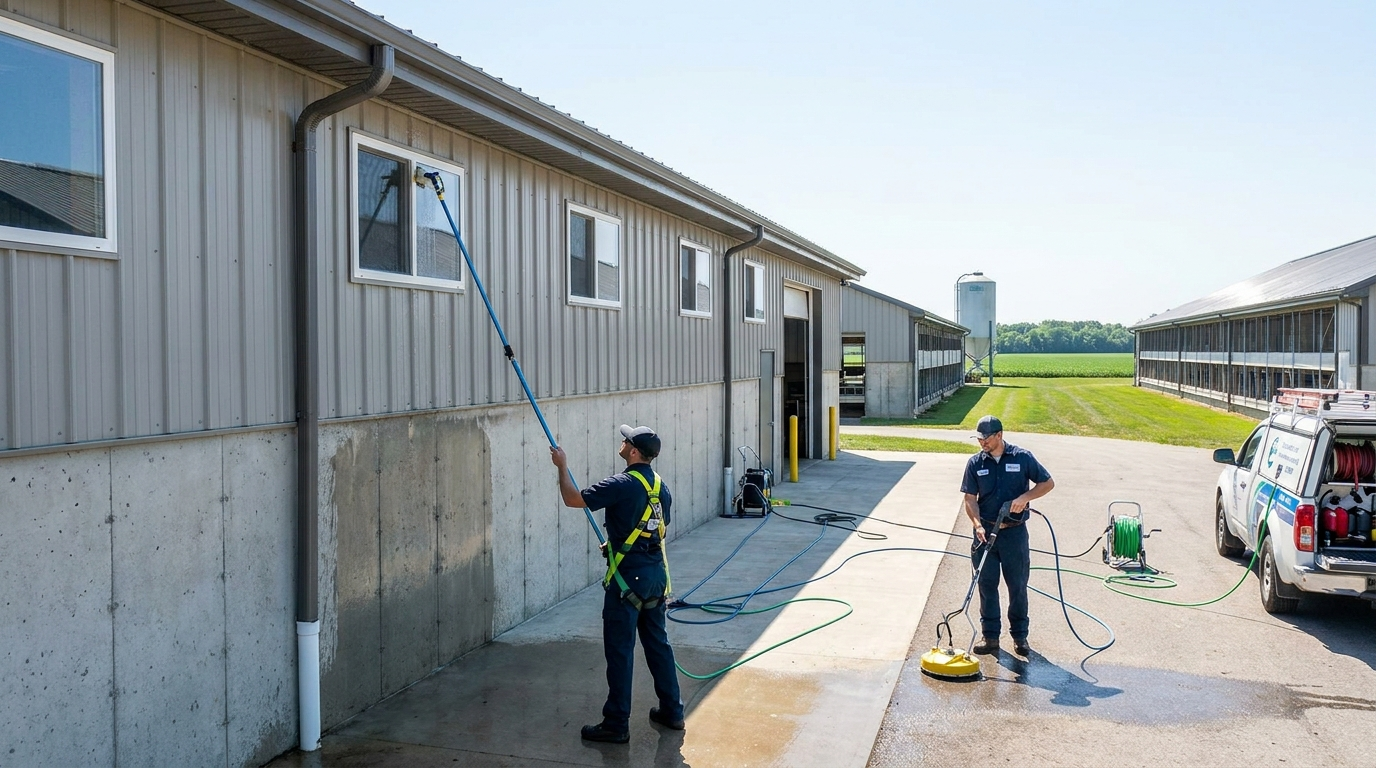
Soft washing is the correct method for those sensitive substrates. It uses low pressure — usually 150–300 psi at the nozzle — and relies on the cleaning solution to do the work rather than mechanical force. A biocide or surfactant-based cleaner is applied at low pressure, allowed to dwell, and then rinsed off gently. The surface is cleaned by the product, not blasted clean by water.
A rough guide for surface-method matching:
- Dense concrete, engineering brick, block paving: Low-to-medium pressure washing, up to 400 psi
- Render, acrylic cladding, vinyl siding, sandstone, aged brick: Soft wash with biocide or pH-neutral cleaner, pressure not exceeding 300 psi at the surface
- Aluminium composite panels, coated metal cladding: Low-pressure rinse with mild pH-balanced detergent; avoid strong alkalis and anything abrasive
- Glass curtain walling: Pure water or deionised water systems, or mild pH-balanced glass cleaner; no acid, no abrasives
If you're unsure about a surface, test a hidden area first. A 30cm² patch in an inconspicuous spot tells you more than any product data sheet about how that particular substrate will react.
The cleaning sequence: work top to bottom, apply bottom to top
The direction of cleaning matters, and the chemical application stage is slightly counterintuitive.
When applying cleaning solution, work from the bottom of the wall upward. This prevents run-down from untreated sections causing streak marks on areas you've already applied product to — a classic cause of the banding and tide marks you see on poorly cleaned buildings.
When rinsing, reverse direction and work top to bottom so loosened contamination is carried downward and away, not dragged back across surfaces you've already cleaned.
The full sequence:
- Remove loose debris — brush or blow off surface dust, cobwebs, loose biological matter, and bird fouling before wetting anything. Wet debris becomes a mess that streaks.
- Pre-wet porous surfaces — for brick, stone, and render, apply plain water before any chemical treatment. This saturates the surface so the cleaning product doesn't absorb too deeply or react unevenly.
- Apply the appropriate cleaner — working bottom to top, as above.
- Allow dwell time — for biological growth (algae, moss, mildew), most professional biocidal treatments need 5–10 minutes of contact time to break down the organism before rinsing. For oil or carbon staining, degreasers and specialist cleaners specify their own dwell time on the technical data sheet.
- Agitate if necessary — stubborn deposits on hard surfaces can be worked with a stiff-bristle brush during dwell time. Don't agitate on coated or sensitive panels.
- Rinse thoroughly top to bottom — and keep the nozzle moving. Holding a pressure lance stationary on the same spot for more than a few seconds concentrates force in one area and can etch or score a surface.
- Inspect before moving to the next section — don't wait until the whole building is done to discover a problem. Checking section by section means issues can be caught while the equipment is still on site.
Chemical selection: the right product for the actual stain
Using the wrong cleaner doesn't just produce a poor result — it can cause lasting damage. the correct starting point is matching the contamination type to the product category.
The practical breakdown for commercial properties:
- Mildew, algae, green growth, moss: A professional biocide is the correct first response — not bleach, not a general-purpose cleaner. Sodium hypochlorite-based solutions are used on some cladding types but must be matched to the substrate and managed for runoff.
- Oil stains (common at ground-floor delivery areas, car park walls, loading docks): A dedicated professional degreaser formulated for masonry or concrete. On glass or coated cladding, test the mildest available option first — some degreasers will haze protective coatings.
- Rust staining (typically from corroding fixings, iron-rich mortar, or metal flashings): A stone-safe rust remover designed for masonry. Avoid generic brick acid cleaners unless the substrate is confirmed acid-resistant — ceramic tile, dense brick, and quarry tiles can tolerate it, but sandstone, limestone, and many renders cannot.
- Carbon and atmospheric soiling: Specialist restoration cleaners or biodegradable façade cleaners formulated for mineral and silica-rich surfaces.
One important note on acid cleaners: they're effective for heavy cement and mortar staining on the right surfaces, but they require post-treatment neutralisation and should never be used on painted, coated, or acid-sensitive materials. They're a targeted trade tool, not a general-purpose option.
Protecting what's around the wall
This is the step that gets compressed when there's schedule pressure.
For landscaping and planted beds near the wall:
Soak all planting beds, shrubs, and any grass areas within three to four metres of the cleaning zone with plain water before work starts. Saturated plant tissue and soil absorbs significantly less chemical runoff than dry material. The principle — sometimes called "dilute and divert" in professional pressure washing practice — means that if any detergent reaches the beds, it's diluted before uptake can occur.
Use breathable covers only during active chemical application on the section directly above. Don't use heavy plastic sheeting, which traps heat. Remove covers as soon as that section is rinsed — leaving plants sealed under plastic for hours creates a greenhouse effect that can stress or kill them faster than the chemicals would.
Redirect downspouts or bag drainage points in the cleaning zone so chemical wash water doesn't concentrate in one area or enter storm drains, which has environmental compliance implications.
For windows and openings:
Close all windows and vents before starting. For any gaps, sliding frames, or French doors that can't be fully sealed, apply heavy-grade plastic sheeting and secure it with waterproof tape before work begins. After cleaning, check window reveals, sill channels, and any gaps for pooled water or residue that wasn't flushed away.
Final inspection and setting a maintenance interval
Once cleaning is complete, walk the building properly rather than checking from the car park. Look for:
- Streak marks or banding — usually caused by inconsistent rinsing or chemical run-down
- White residue or bloom on masonry — can indicate chemical residue or the beginning of efflorescence triggered by cleaning
- Areas of uneven result — spots where stubborn staining remains or coverage was missed
- Any new damage visible now the surface is clean — cracks, open joints, or areas of failed pointing that the dirt was obscuring
Any residue that hasn't rinsed fully should be addressed before the equipment leaves site. Once dried onto a porous surface, some cleaning chemicals become considerably harder to remove.
On frequency: for most commercial buildings in the UK, an annual clean is the baseline. Urban sites on major roads — a retail unit on a city centre high street, for example — benefit from cleaning every 6–12 months. Cladding on suburban commercial parks typically runs to 12–18 months between cleans. Stone and brick on lower-exposure sites can often go 2–3 years. Between formal cleans, a quarterly visual check — walking the perimeter and noting what's changing — is usually enough to catch biological regrowth or new staining before it becomes embedded.
What to do next
- Walk the building this week and photograph any existing damage, staining types, and surface materials — have this ready before you contact any cleaning contractor, so you can have a meaningful technical conversation rather than just getting a price.
- Check mortar joints and sealant beads around windows and penetrations — if any are open or cracked, get those made good before any cleaning is scheduled.
- Ask any contractor you're considering to specify which method they'll use on each surface type, not just "pressure washing" as a blanket answer. If they can't break it down by substrate, that's useful information.
- Set a calendar reminder for a visual inspection three months after any clean — catching new growth early means a biocidal spray rather than a full re-clean.
A commercial façade clean done correctly requires a site assessment, surface-specific method selection, the right chemical for each stain type, a structured sequence, and a thorough final check before the equipment leaves. The steps aren't complicated, but skipping any of them is where damage happens and where contractors earn complaints. The question worth asking before any clean is commissioned: does whoever you're hiring know what they'll do differently on the render section compared to the brick section?